In December 2007 I traded a bunch of tooling for a small milling head
that I wanted to mount on the Nichols.
I opened up the bore of a lathe chuck backplate that I had messed up
some time ago, to take a mounting shaft that would fit in place of the
2.250" diameter overarm in the Nichols head.
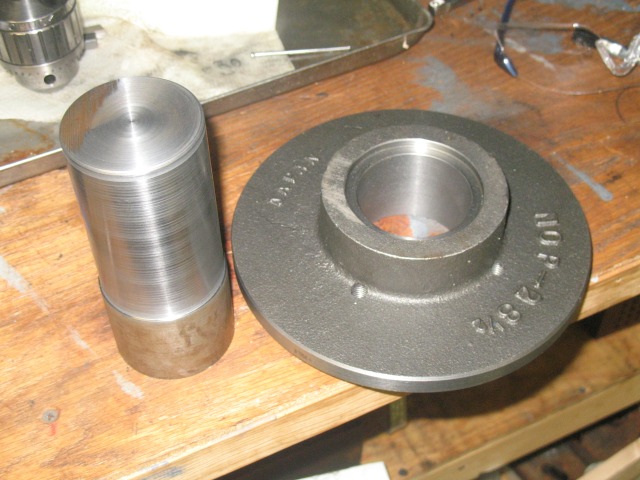
After pressing it on ( ~.005" press-fit, used an 8 ton hydraulic press
after freezing the shaft and putting the flange in the oven- got a
smile
from the wife on that one... :) ). I had thought about locking screws,
etc but after barely getting the press fit done, I don't think theres
a need.
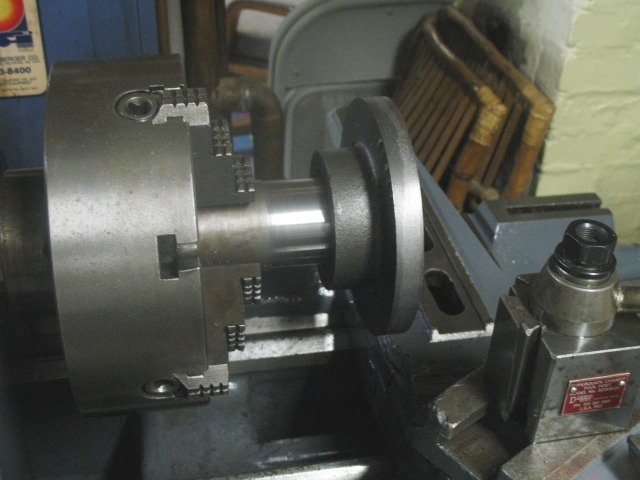
With the mounting stub finished & polished and the flange turned to
diameter, next I transfer punched the locations for the mounting holes
on the head.
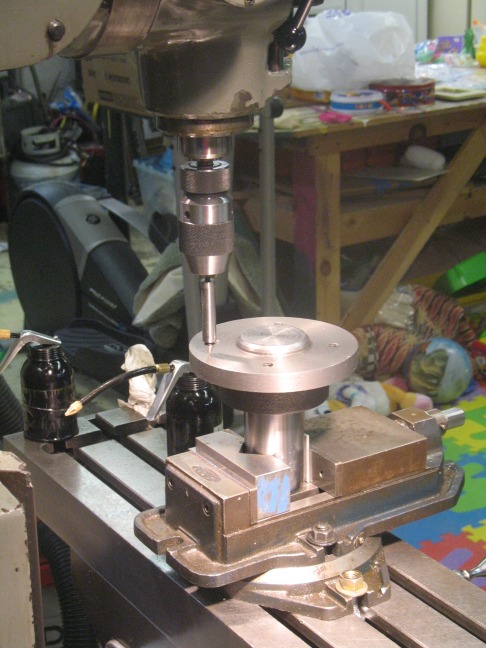
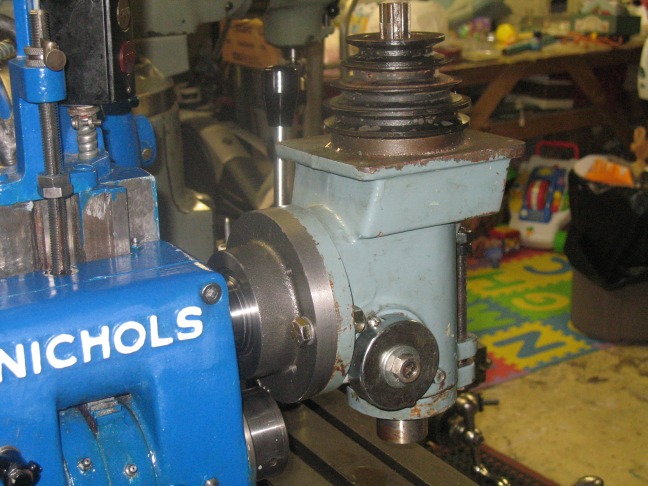
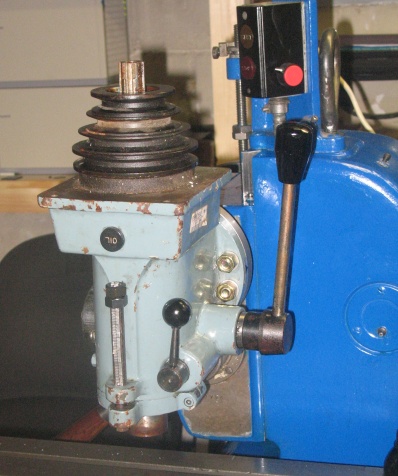
And then mounting on the mill.
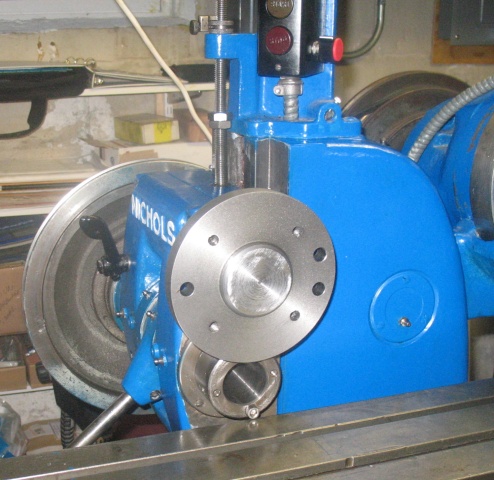
And bolting on the head. It weighs about 70 lbs, very unweildy
until its mounted on the flange- at which point its quite pleasant to
work on. The head is vertical to within ~.002" over 4" of z axis- not
great in the abstract, OTOH the installation isn't complete, nor yet
in use. I also don't know how much the tram is affected by moving the
Nichols head up and down. We'll see, OTOH I think this head will be
great as a mini-drillpress or for light milling.
At some point I will mill off some of the bottom of the flange, so the
head will clear the spindle when the head is inserted all the way. That
should make the whole considerably stiffer, and save some y axis too.
As can be seen, next I have to build a motor mount.
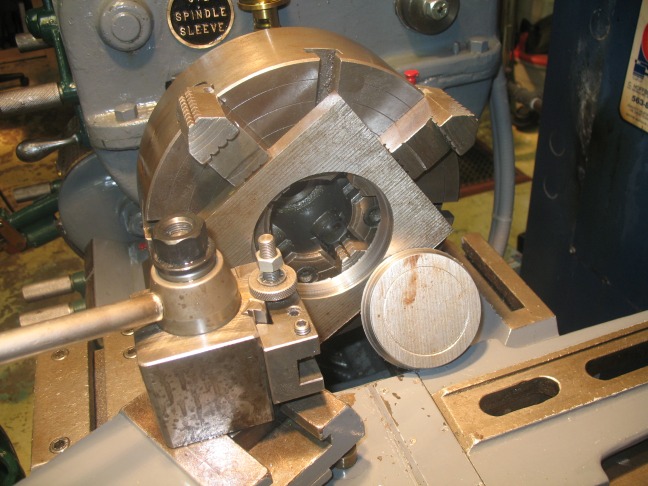
Next is to make a clamping collar to go around the boss on the top of
the mill, onto which I'll assemble a frame to hold the motor. Here the
bore is trepanned. Now to bore it to final diameter, face it,
install the clamp screws and cut it in half.
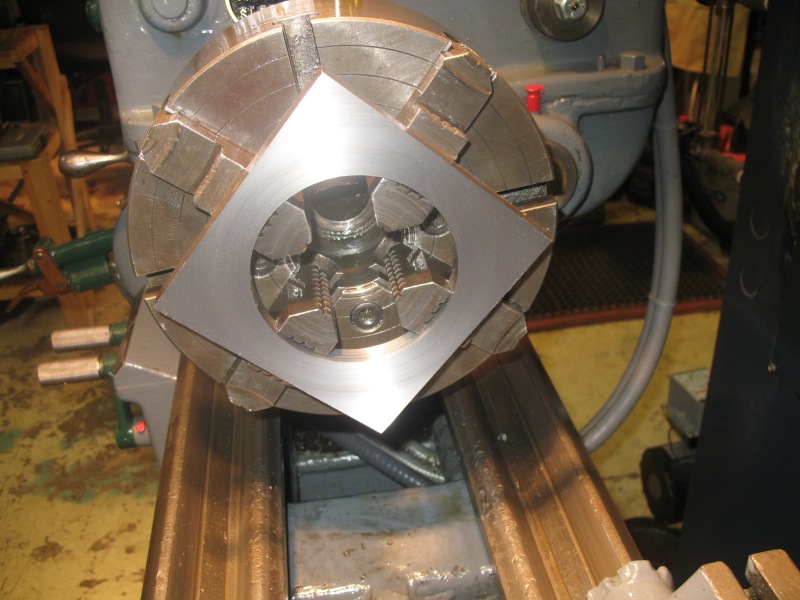
The mounting collar bored & faced;
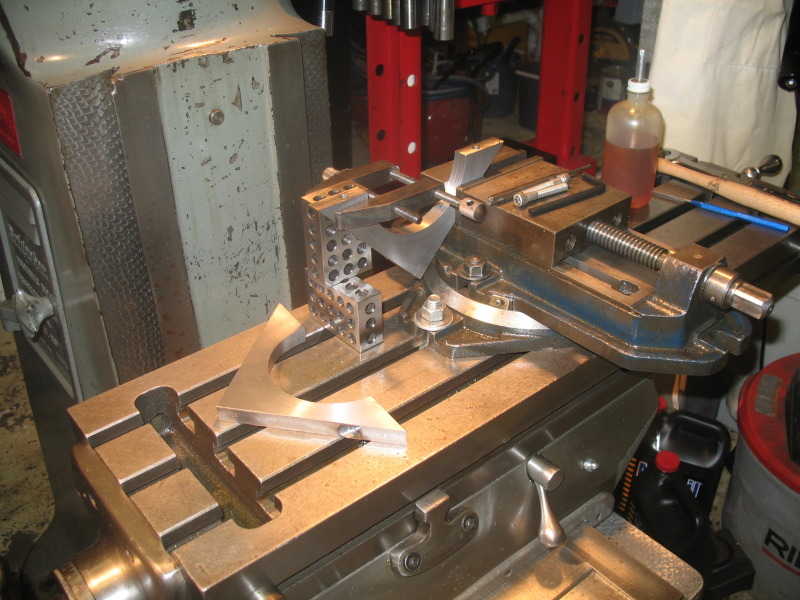
Meantime I decided to go ahead with relieving the underside of the
mounting flange to clear the spindle, allowing the head to be mounted
closer in, increasing stiffness and available y axis;

Here is the collar finished all sides, parted, drilled & tapped. Next
is to fit it to the head, then construct a frame for the motor on top of
the clamp. If it all works, the collar can be loosened so the motor
assy can be rotated where convienent instead of being fixed in one
position.
(up)
;;; eof