(home)
12/05/2004 Delivery!
After two rained out attempts, I finally was able to schedule the
forklift & moving truck rentals on a clear day.
So, up at 5:30 to take delivery of my 6000 capacity rough terrain
forklift;
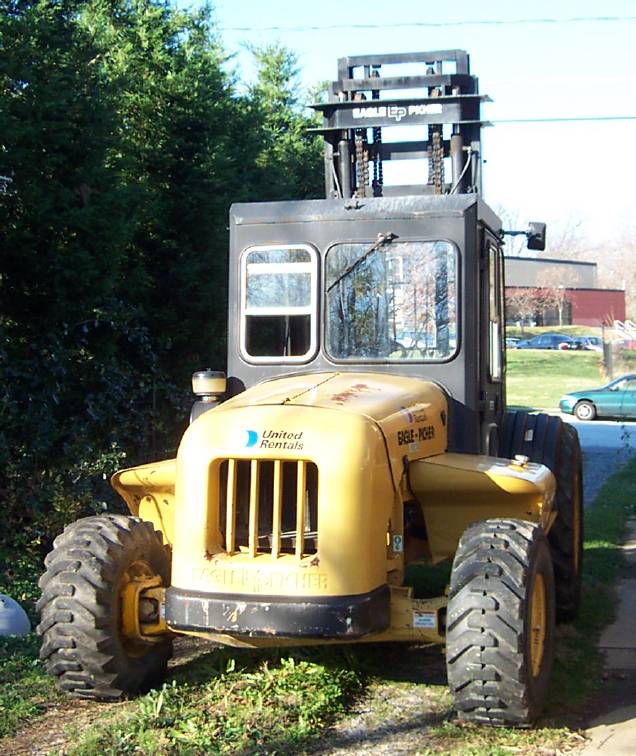
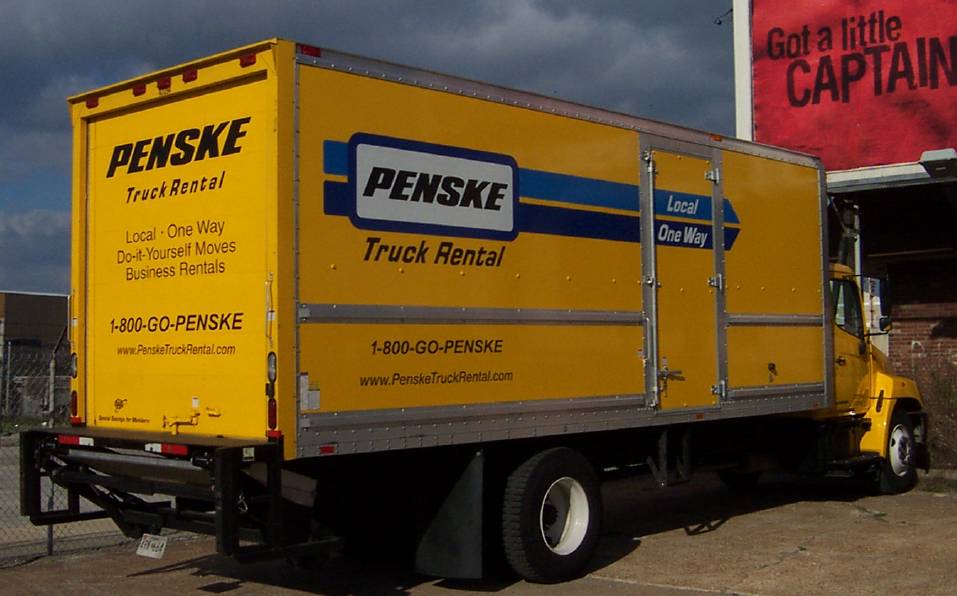
Once that showed up, off we went to Penske for the van, then down to
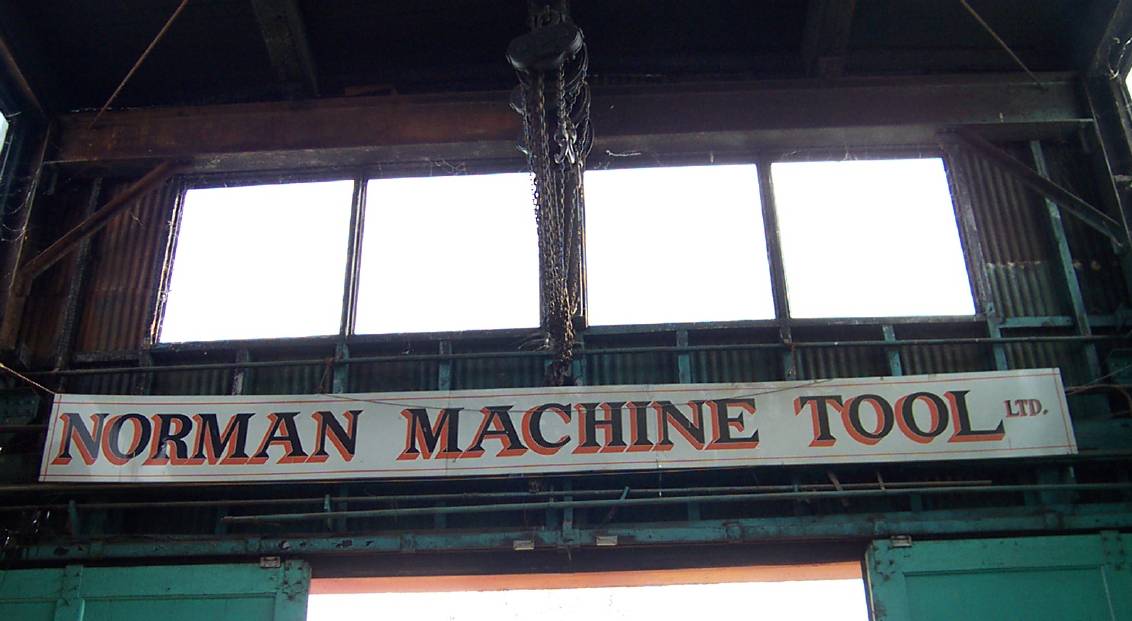
Norman Machine Tool;
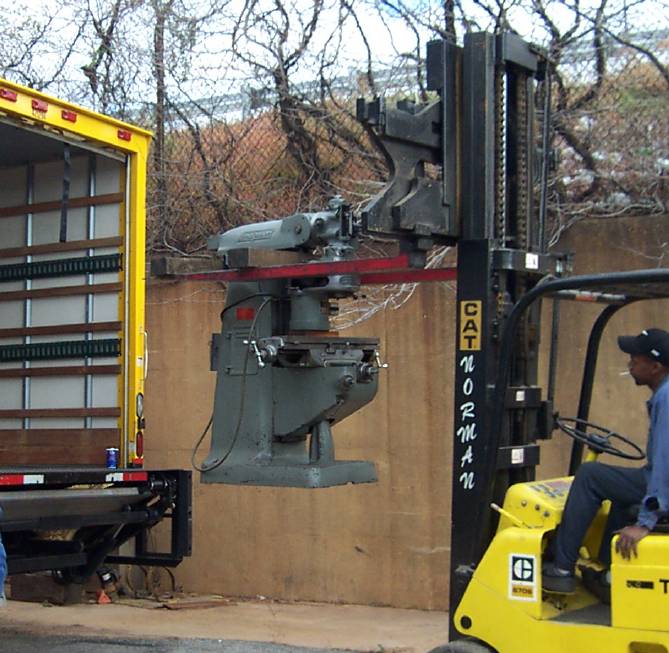
Not quite like the old Abandon Hope All Ye ... business, but I think
the
chain hoist there is a nice aesthetic touch.
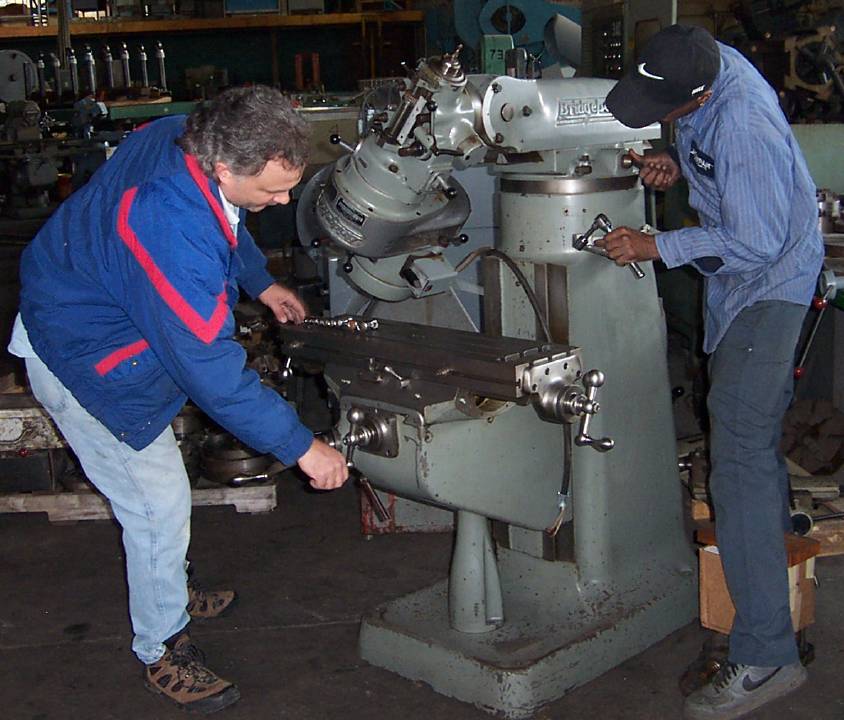
Vince set up the ram so he could pick up the mill with the forklift
while I got the knee and table set up to support the head. The
accessories I got with the mill included a wooden endmill rack, which I
put between the head and table;
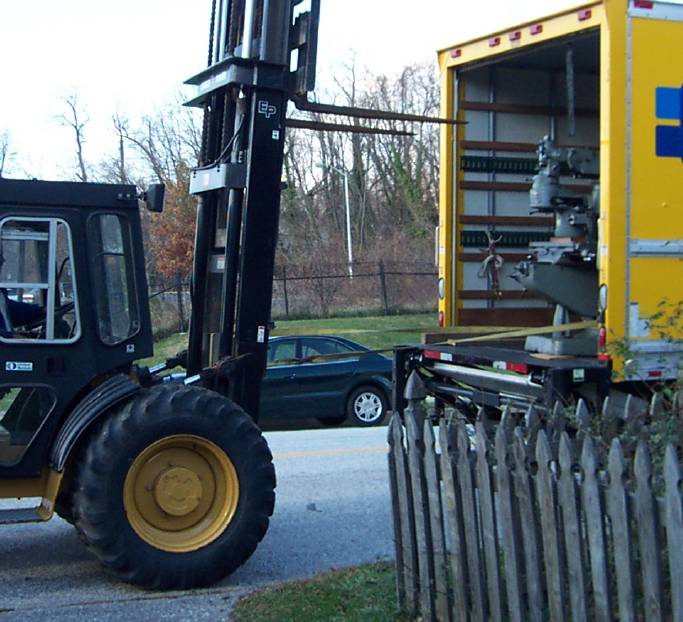
Then off to the truck;
Yours truly, ready to tie down;

Since the van didn't offer any hard points, I ended up fixing lines
from the ram leading to the four corners of the box, and some straps
lower on the base
leading side to side. The mill didn't move at all during the
admittedly careful drive home. The truck didn't handle any
differently with the mill in there, and was rated for quite a bit more
weight than the Bridgeport. The one-way truck rental was only
about $150, and I opted for insurance. The open bed truck they
had would have cost $200 or so. Of course the biggest advantage
is the closed box caused the weather to be good- it would certainly
have rained otherwise... ;)
Unloading;
First I had to pull the mill towards the tailgate so the forks would
straddle the ram. Naturally, the metal gate is 1/4" higher than
the wooden floor of the van, so I had to lever the base of the mill up
a bit to fit some plywood scraps underneath as a little ramp. The
tow strap kept the mill from sliding backwards while I pried up the
base 1/2" or so with a
digging bar. With the scraps in place, the mill slid neat as you
please. Be sure to cast off the tow strap before backing up again
to set up the forks. I forgot that for a moment and had an Oh
@**% moment as the mill was dragged even further towards the edge of
the tailgate. Yikes!
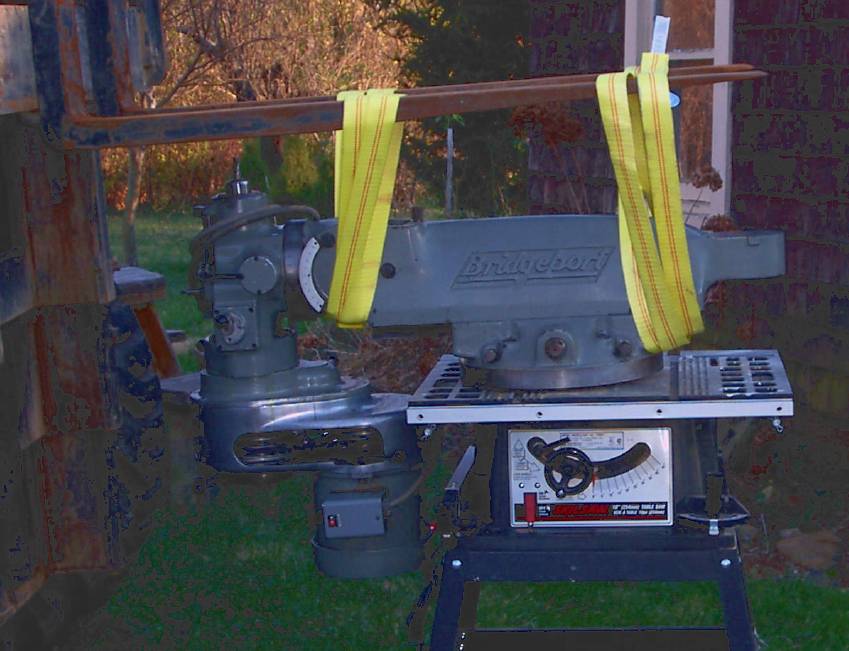
First test lift to make sure things are set up OK. Observe the
right-hand tow strap is loose. I changed the pitch of the forks
to put more weight on that end. Each tow strap is restrained with
a smaller one leading back to the forklift, the one on the right is
easily visisble. I should have put some cardboard under the
dovetail, the straps were a little frayed after all was said and done,
but they are cheapo Home Depot ones- I bought them specifically for
this move and figure they are essentially disposable.

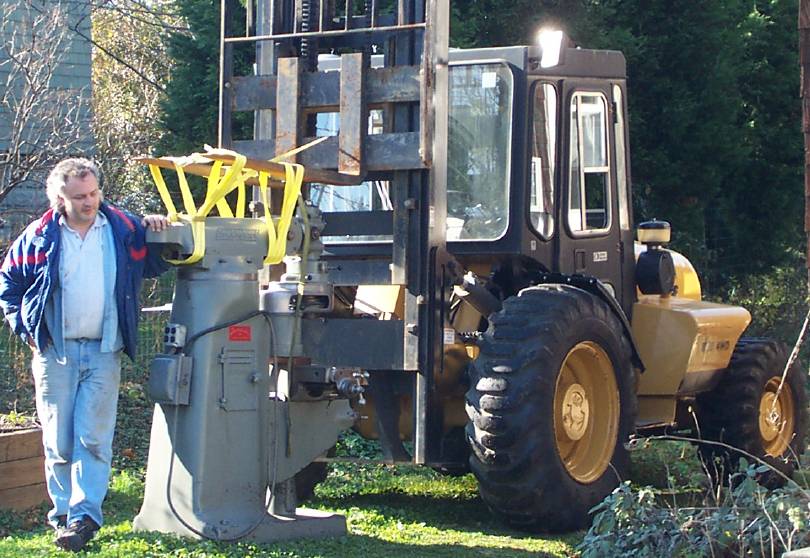
Then off we go;

And I did just barely miss the fence. The forklift steers from
the back, so you can't drive it the same as a car.

Now we're ready to set up for the trip down the basement stairs, here I
paused to fit the sled underneath the base.
Naturally, the basement door is too low by a foot or so for the whole
machine to slide down the ramp, so I had to take the ram & turret
off, and move the head of the ramp down two steps before there was
enough clearance. You can see the sled here, the head of the ramp
is out of view two steps down the stairwell.
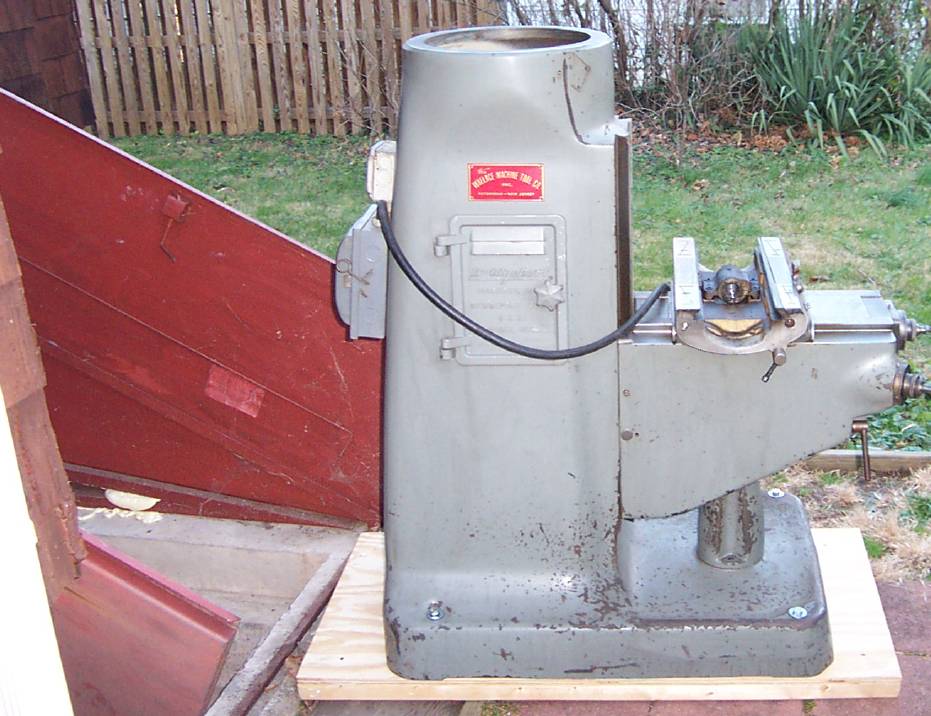
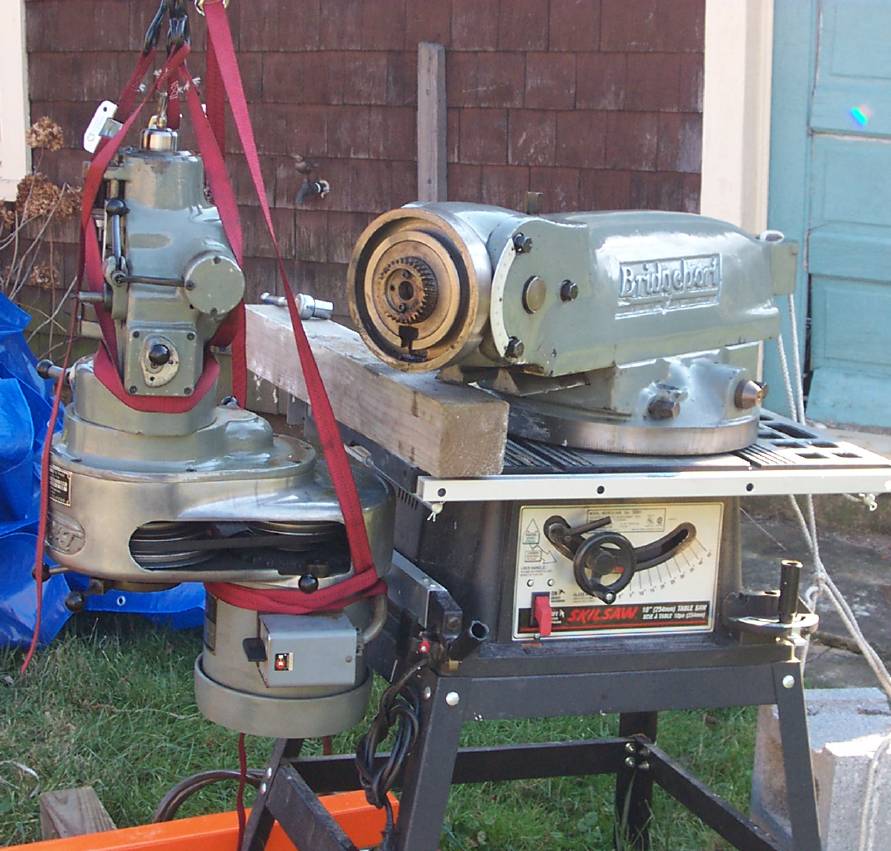
Closeup of the top of the base;
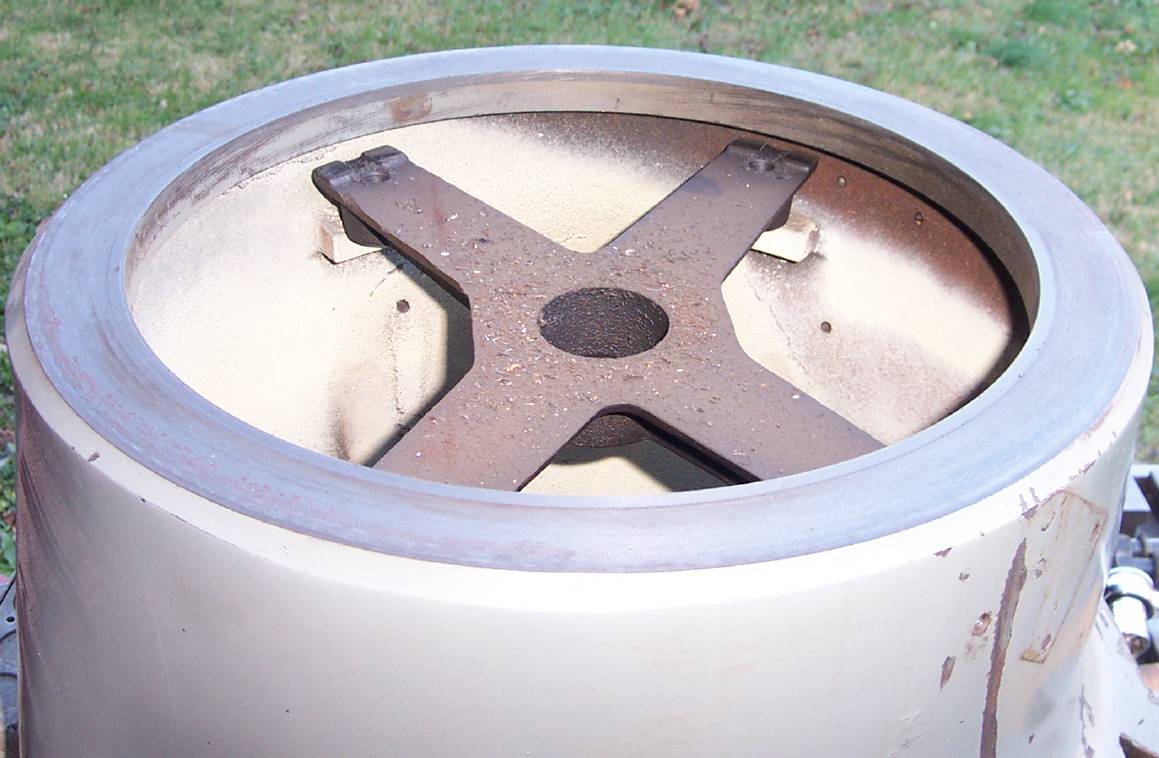
I had to scramble to find a spot to put the entire head.
Eventually I had some 2x6 scraps under the table saw's legs and a 4x4
under the bit of dovetail to keep it from pitching. It would have
been easier to slide the turret further to the right- but once the
table saw was stable the head behaved itself. The huge forklift
made all this much easier.
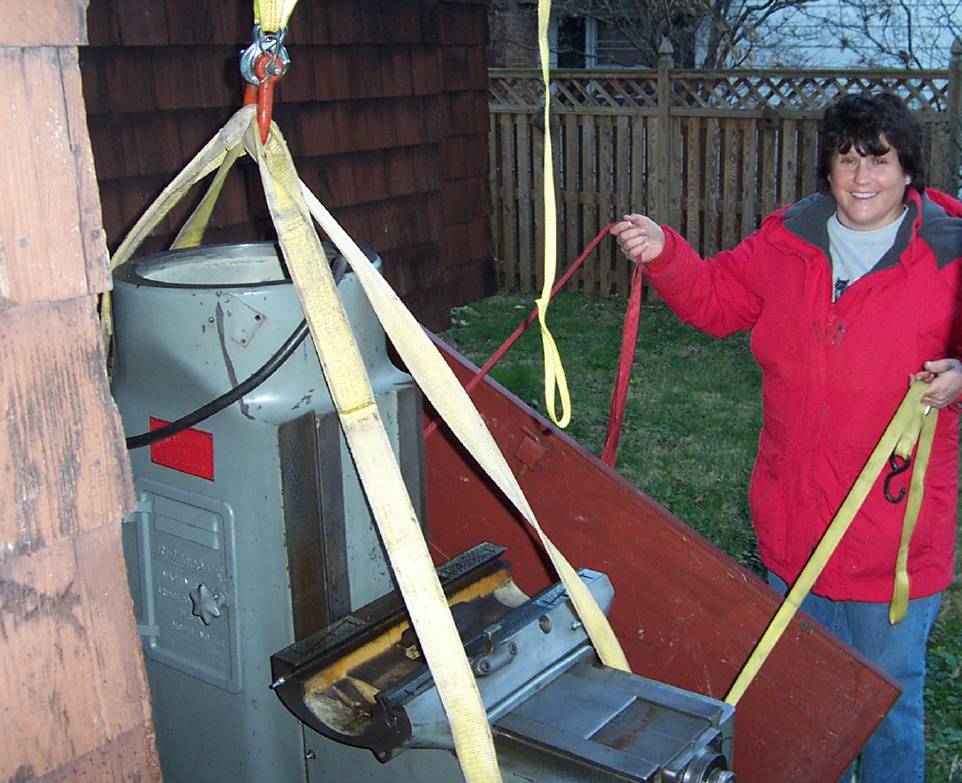
About this time our friend Captain Beth showed up to help, she's
steering with the straps while I lower away. The
base is suspended over the stairs & ramp by the forklift. As
I lowered, the base & ramp pitch downwards onto the ramp, the
uphill end resting on the lip of the basement stairs.
The hoist coming down from the forks is prevented from being pulled off
by the changing lifting angle via another strap leading back to the
forklift.
The base is kept from tumbling or sliding by a comealong and strap down
at the base of the mill, also leading back to the bottom of the
forklift. Once the base
and sled were stable on the ramp, we cast off the hoist and used the
comealong to ease the works down the ramp. A winch
or chain-hoist would
have been convienient, it takes a while to spool out a comealong with
so much weight on it. No grease or coercion was required to make
the sled slide, it was quite eager to go downhill... ;)
If we hadn't run into height clearance problems, the whole mill on its
sled could have been placed right onto the ramp. As it was we had
to lever the uphill end of the sled over the edges of two steps before
the sled came evenly down onto the ramp. As we inched the sled
over the steps, we kept most of the weight on the hoist so things
stayed under control.
And about 30 minutes later, all safe and sound resting on the basement
floor. You can see how low the head of the ramp had to be for the
height clearance. Down in the basement, I used the shop crane to
pick up the base and set it level on the floor. The expanding
foam is an oversight- I keep forgetting to clear it away.
The ramp is made of four 2x6x8's per "rail", bound together by lag
screws. The outermost 2x6's of both rails are raised about 1/2"
to form a guide. The two rails are spaced and braced with
2x4's. The ramp is touching only at the bottom and top edge, no
special preparations were made to mate the ramp bearing edges and the
floor. There was no apparent shifting or flexing of the ramp
during the move.

And that ends day 1. Day 2, I started working on the head.
Here the head is off, suspended by my shop crane. The righmost
long strap ended up being unnecessary. I also wised up and pulled
out the endmill before I cut myself- or a lifting strap.
Then after pulling the motor and removing a few levers, I got the head
onto my handtruck- I added straps before moving it of course...
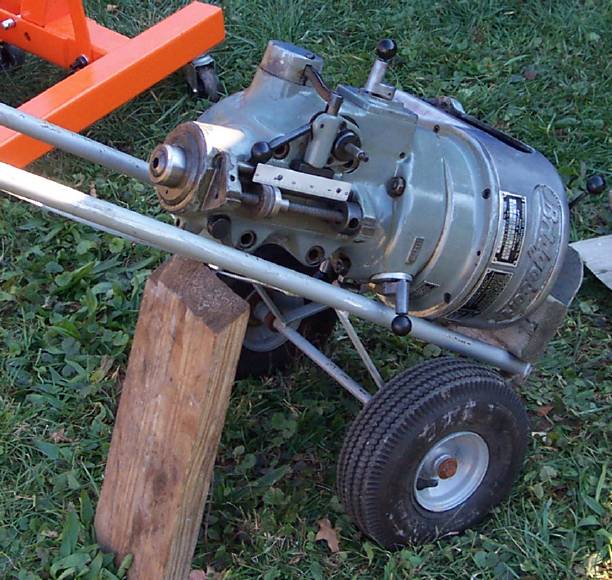
Then the ram & turret;
I finally got to use the hoisting ring...
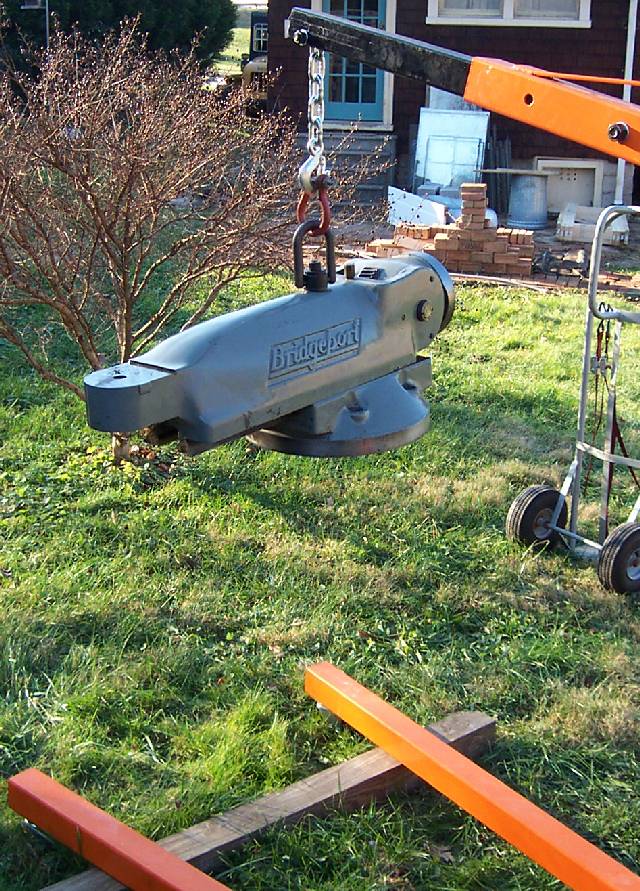
This was a bit of a heavy load for the handtruck, but the move was
uneventful. Next time I'd pull the ram from the turret and move
them separately.

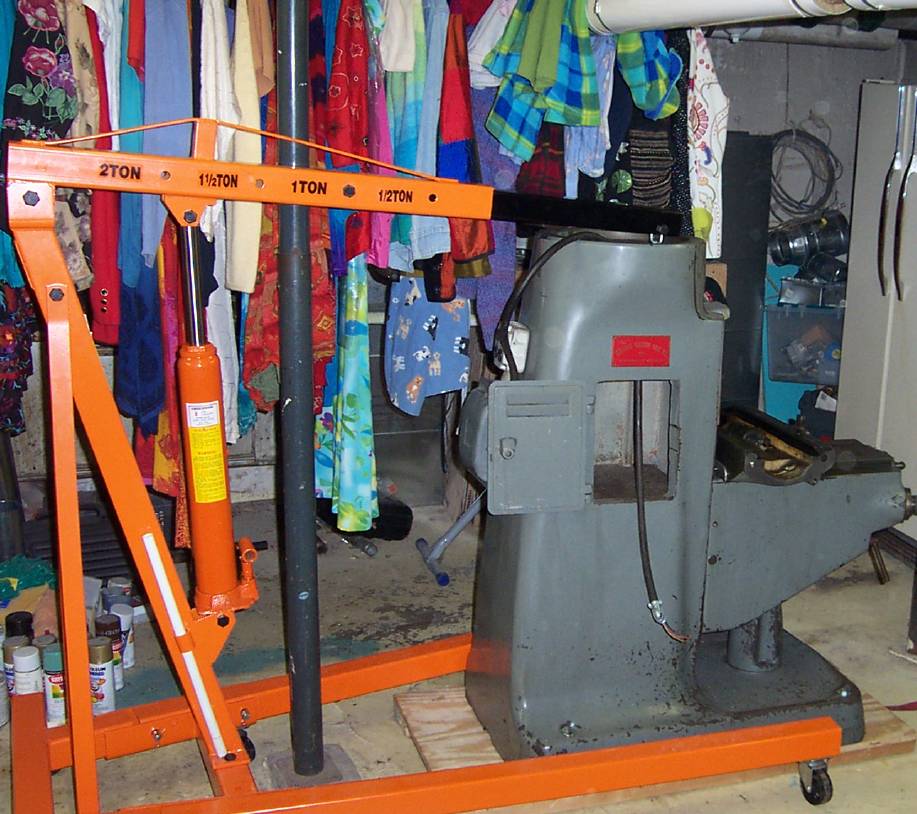
And later on day 2, I got the base into position. The clothes are
there while we're remodeling the 2nd floor. Since the steam pipe
is so low above the base, I switched to a chunk of 4x4 thru the door on
the base to a lip in the casting with a length of nylon strap looped
between the hook and the 4x4. It wasn't really well balanced, but
it was good enough to lift almost all the weight so I could shove the
base around a little.
As I reassembled the mill, I discovered the sled added enough height to
cause the top of the motor to interfere with the floor joist overhead,
so I had to remove the sled. I now have approximately 1/2"
clearance above the motor.
And here, unfortunately, my camera died so I don't have pictures of the
rest of the reassembly. I'll add pictures of the installed setup
once we get a new one.
(home)
;;; eof