Here is a picture of the broken portion of the dovetails, rear half of
the saddle.
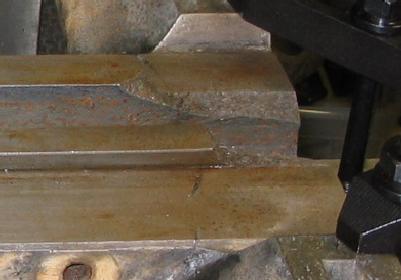
So I get to play like a machinery repair tech...
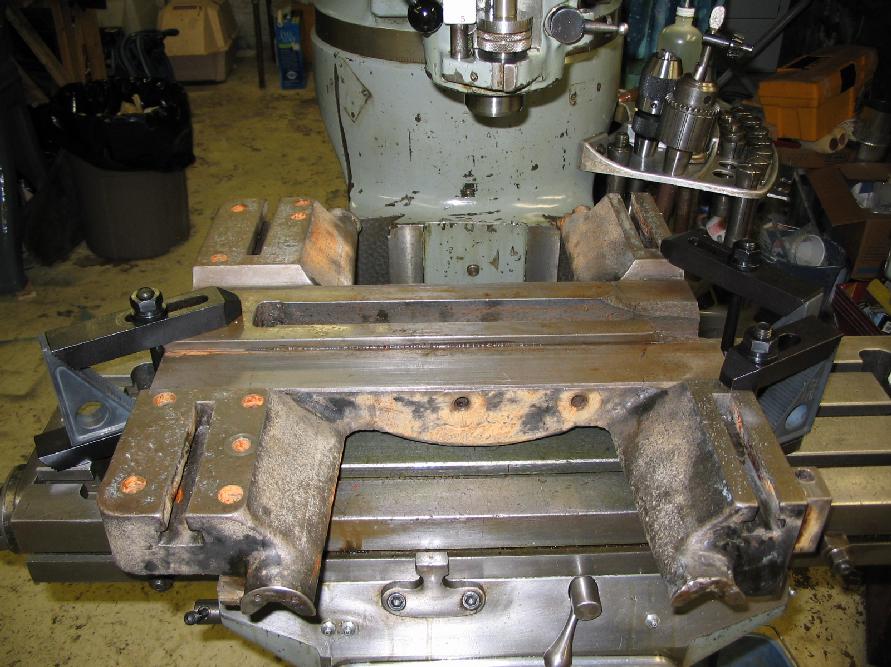
After milling out the broken portions, I moved the saddle back to the
lathe to free up the Bridgeport for the next steps. In the
picture below, the milled out pockets are visible. I had to leave
some of the broken portion on the right-hand dovetail due to proximity
to the capscrew holding the wing to the saddle visible just to the
lower right- milling it clean would have brought the cut very close to
the capscrew head & shank..
The repaired cross-slide is also shown, after soldering with ~2% silver
bearing solder. I'll do a final cleaning and fill voids with JB
weld before painting.
The next step is to prep some new dovetail pieces and screw them down
in the milled out pockets. I'm still debating using
silver-bearing solder vs silver brazing to permanently fix the new
dovetails. While I think about it, I'm going to install the
motor, controls and VFD and get the lathe rolling... :)
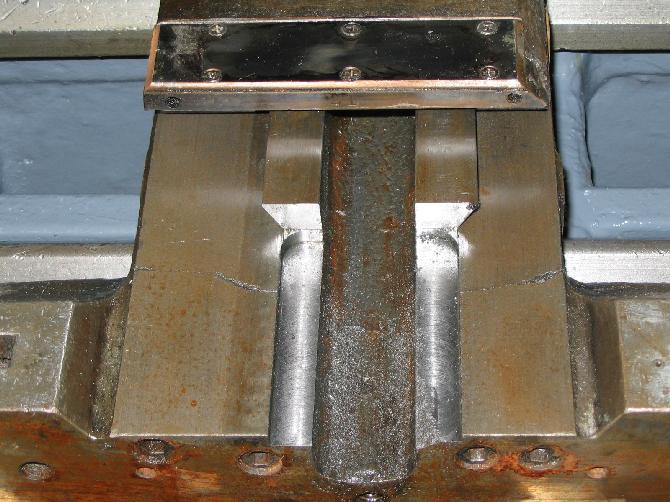
Next step was to fit some 1018 stock into the pockets and screw them
down, then the excess is trimmed. I'll cut the dovetails last.
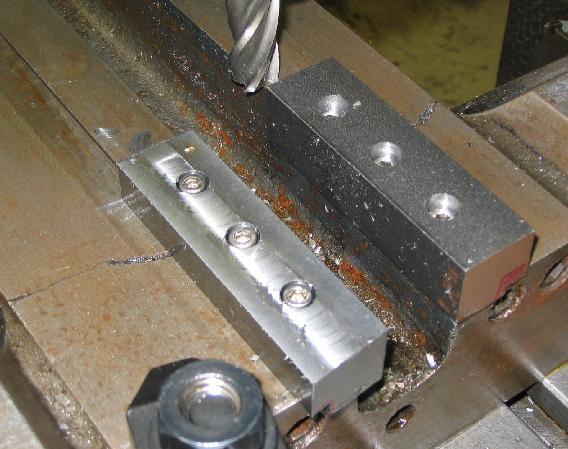
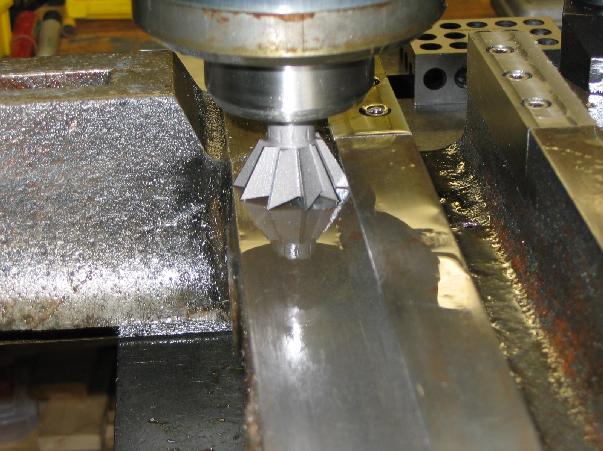
I milled off the excess material all around, then started milling the
dovetails. Naturally the first dovetail cutter was too small, the
second was too large, but the third was Just Right.
The test fits are good, so I deburred and moved the saddle off the
Bridgeport. Next step is to take the dovetail sections off, clean
& prep for soft soldering. If I had an oxy/acetylene rig I'd
braze. OTOH the new sections only support the taper slide,
so they don't need maximum strength.
;;; eof